Getting started#
Setting up nJAMS Client for Mule4 is a breeze. Just follow the steps below and you are instantly able to monitor your Mule applications with nJAMS.
What do I need to start?#
MuleSoft Anypoint Studio 7.4 must be installed on your local machine. Enter https://www.mulesoft.com/platform/studio to get a 30-day free trial of Anypoint Studio.
Have a Mule project ready.
Have an nJAMS Server instance ready. For that go to https://download.integrationmatters.com/software/ and download the latest nJAMS Server version.
How do I start?#
Follow chapter “Installation” to set up the nJAMS Client for Mule4.
In your nJAMS Server create a Data Provider according to the communication protocol of your choice. For more information please refer to https://docs.integrationmatters.com/projects/server/en/6.0/.
First start:
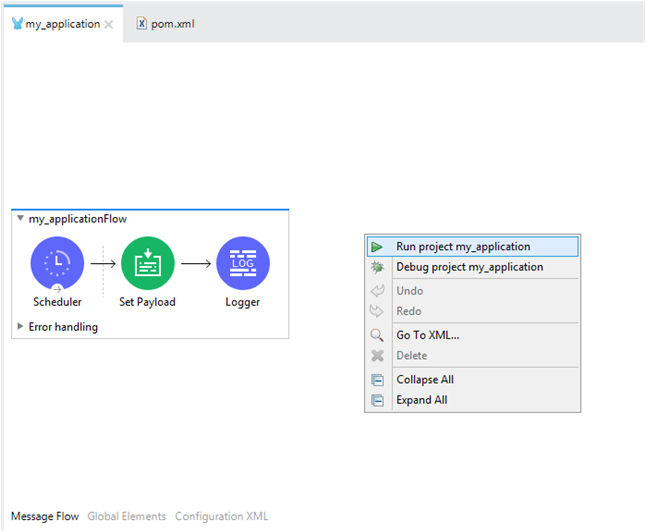
Let’s start your first Mule application with nJAMS Client for Mule4 in Anypoint Studio. Open your project, select a flow, and go to tab Message Flow, right click in the pane, and select Run project:
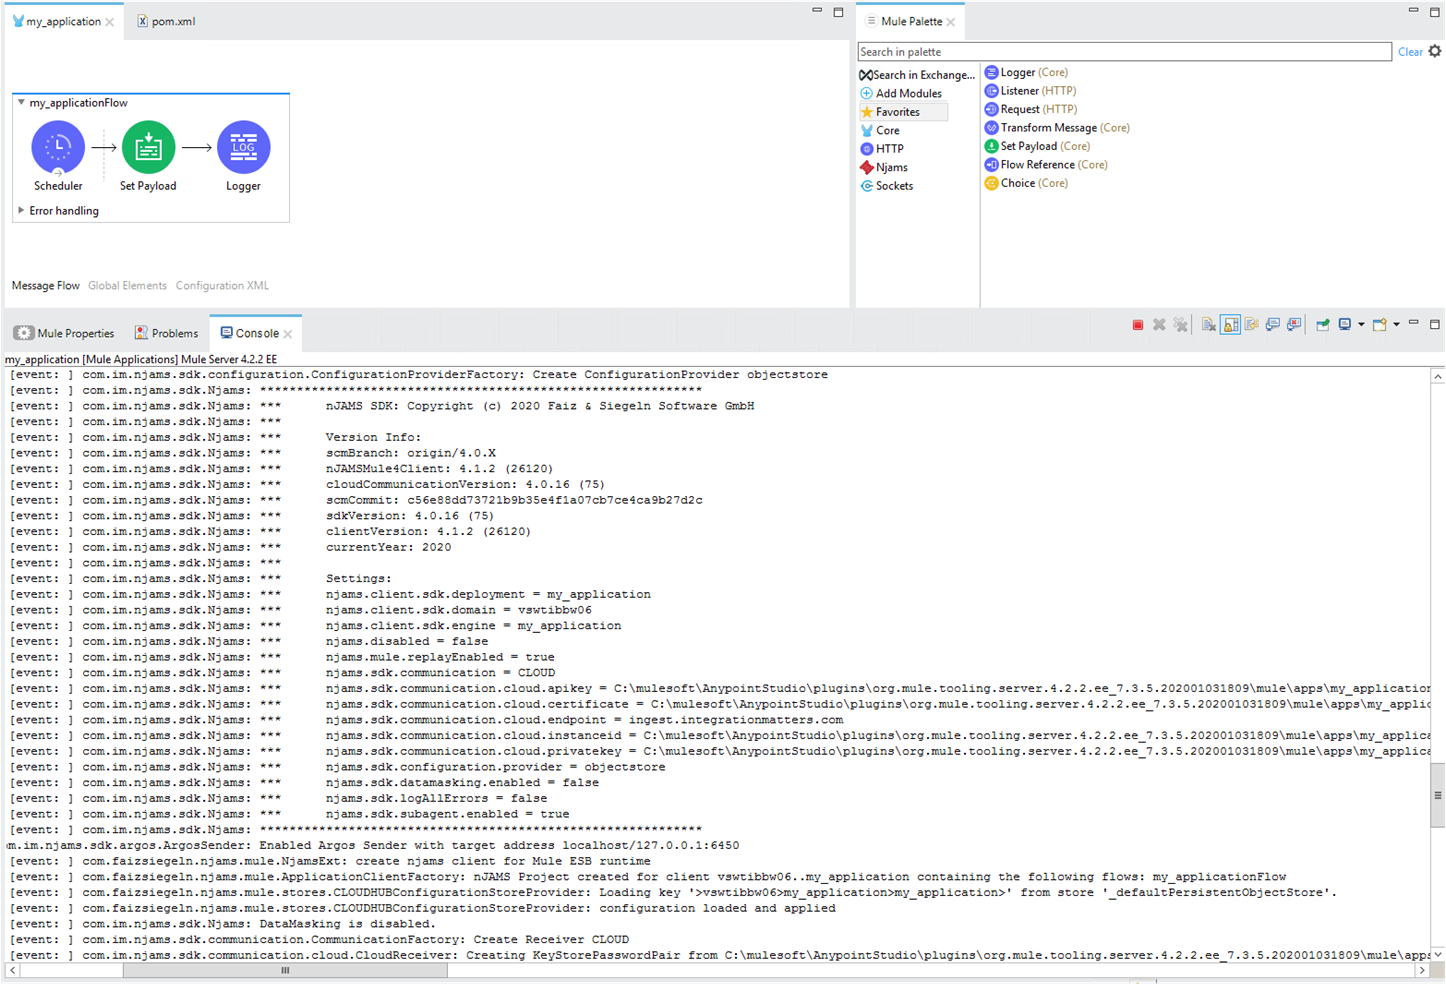
During startup of your Mule application, nJAMS Client for Mule4 is initialized. See nJAMS Client for Mule4 banner text in console output:
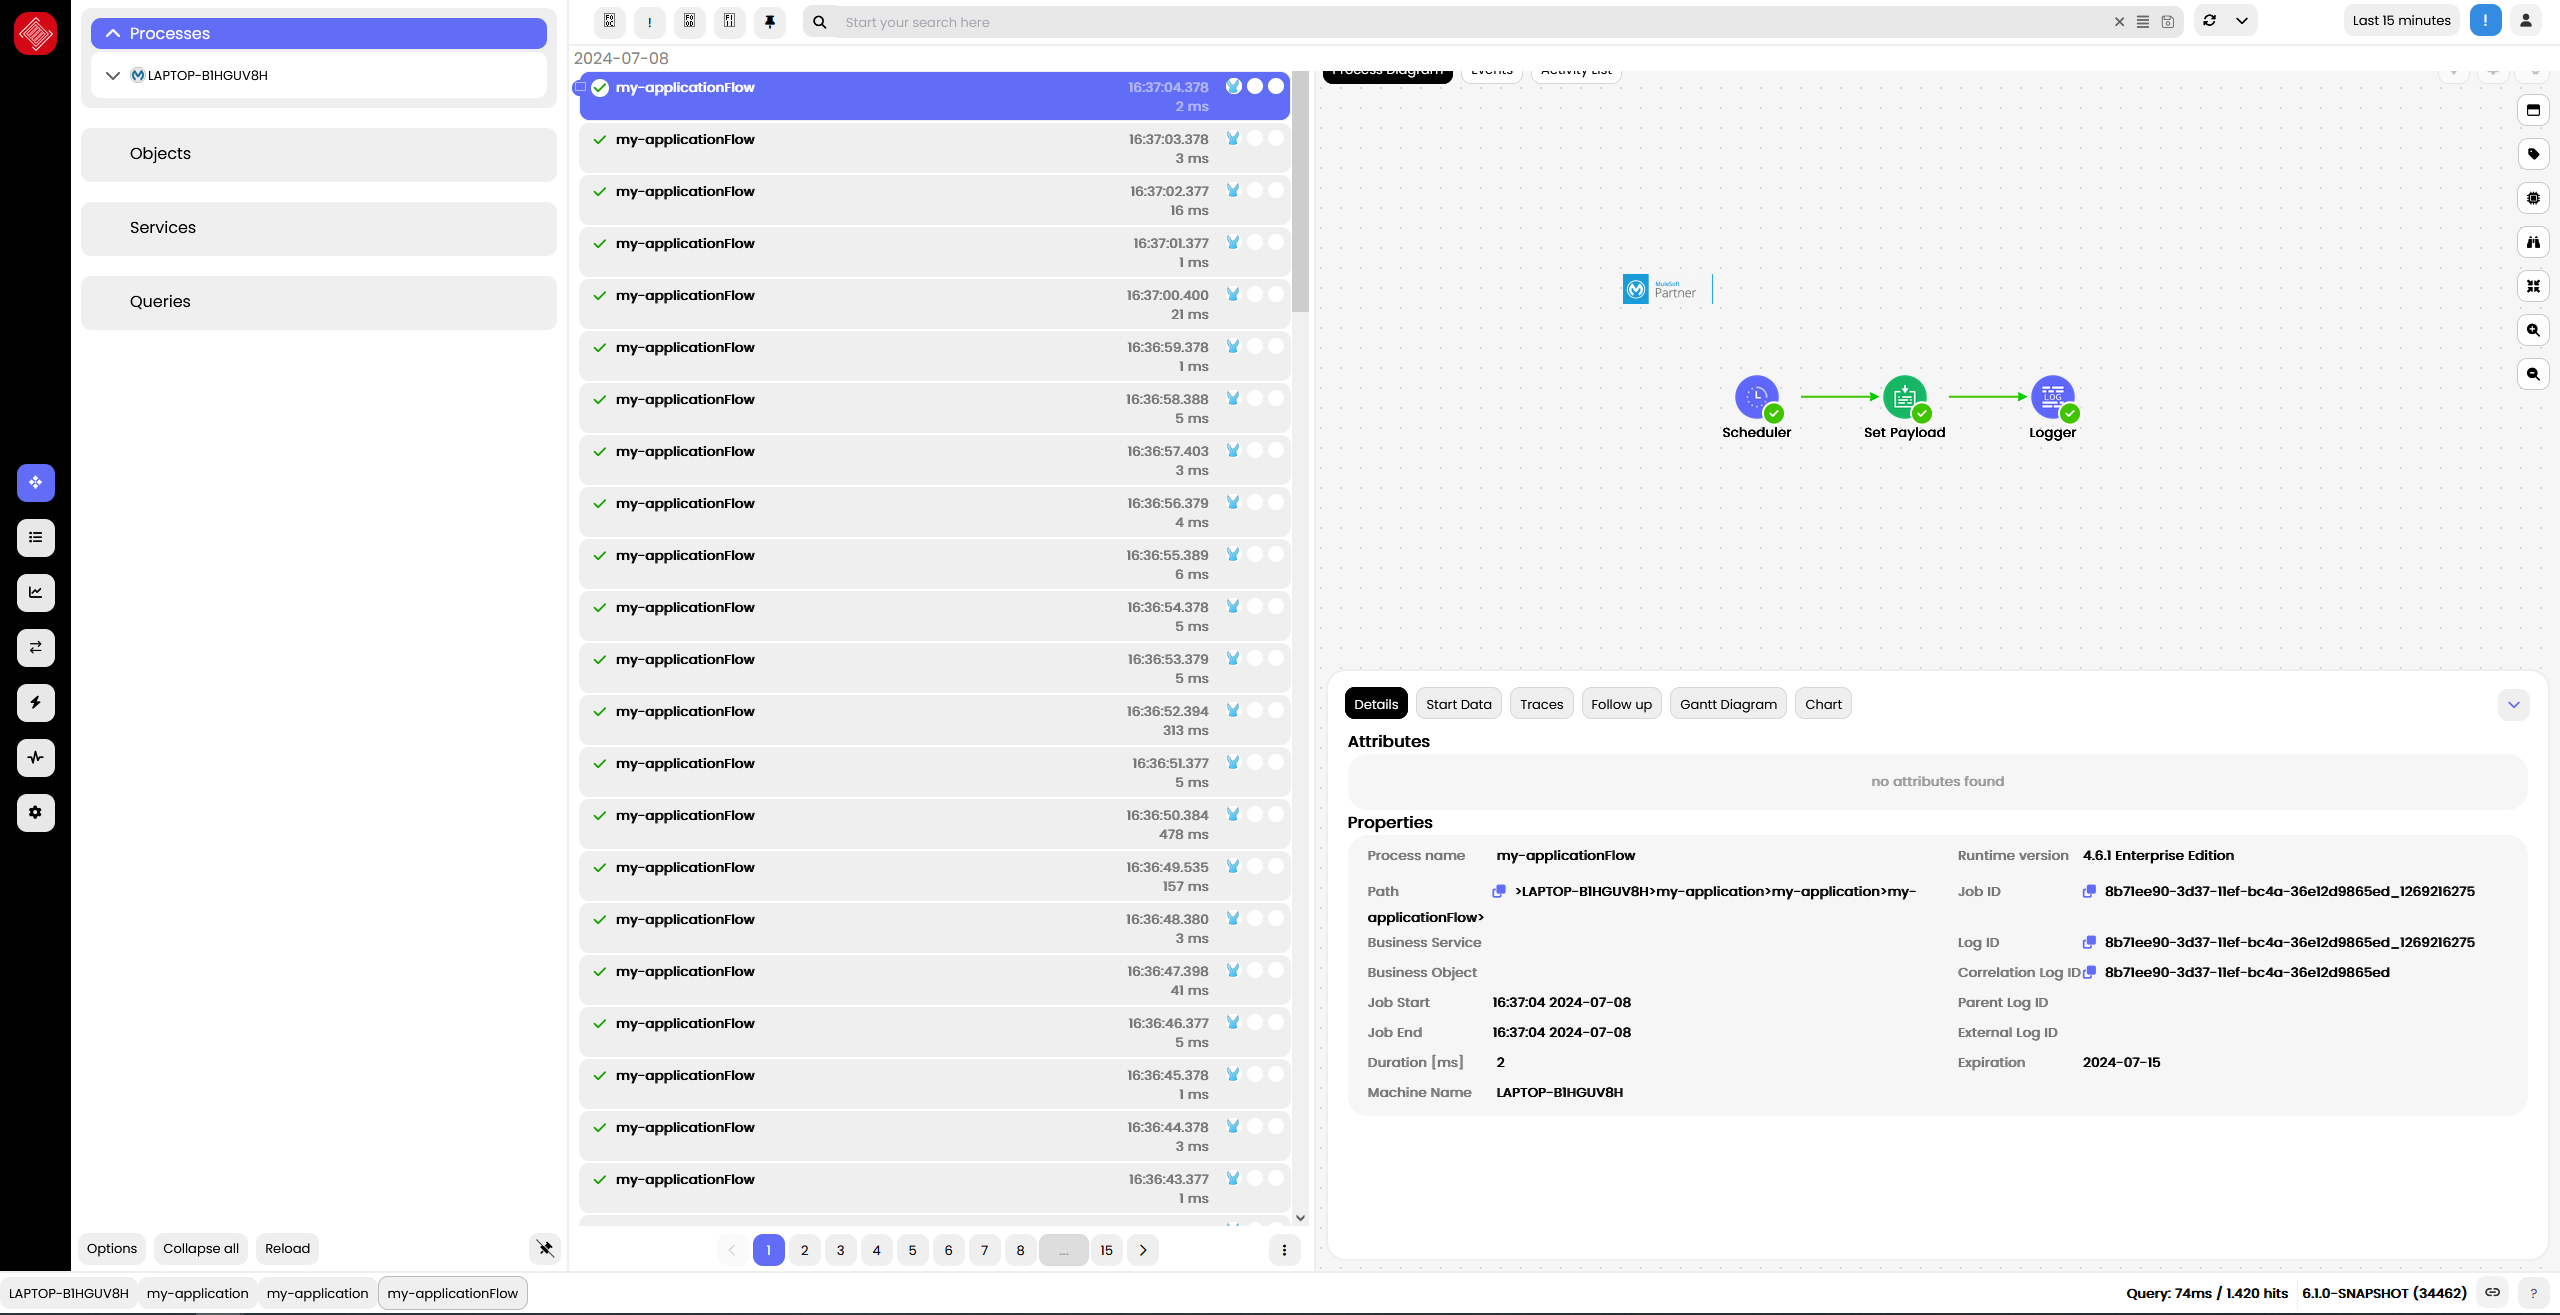
Enter your nJAMS Server instance and watch the results of each flow execution your Mule application generates:
Well done, you now have a clear view of the things that lie ahead!
You can find more options with regards to installation and configuration of nJAMS Client for Mule4 in the chapter “Installation”. Otherwise follow chapter “Working with nJAMS Client for Mule4”.