Installing and configuring a new nJAMS instance#
The overall installation process of a new nJAMS Server Instance consists of the following main steps:
Install nJAMS Server
Start the installer either for Windows or Unix/Linux
Walk through the installation wizard and select at least WildFly Application Server including configuration and deployment of nJAMS Server.
Optionally setup additional components from nJAMS Server installer:
Install PostgreSQL database
Install Elasticsearch node
Install JMS Provider Apache ActiveMQ
Installing nJAMS Server in GUI mode#
There are two installers available.
For Unix/Linux platforms:
njams_server_unix_5.0.x.sh
Note
Do not use user “root” for installation, the installation will fail in context of this user.
For Windows:
njams_server_windows-x64_5.0.x.exe
The following exemplarily shows the installation process for Windows.
Start the installer executable
njams_server_windows-x64_5.0.x.exe.Confirm User Account Control (UAC) dialog:
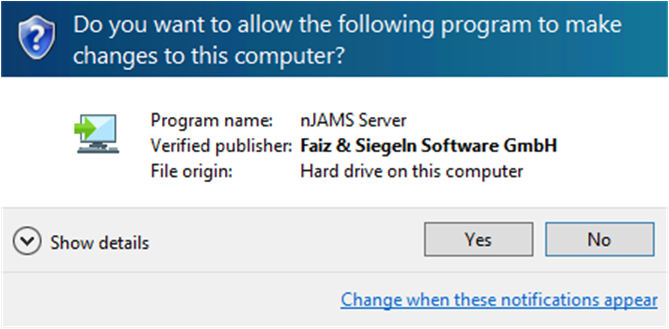
Click
Nexton Welcome message: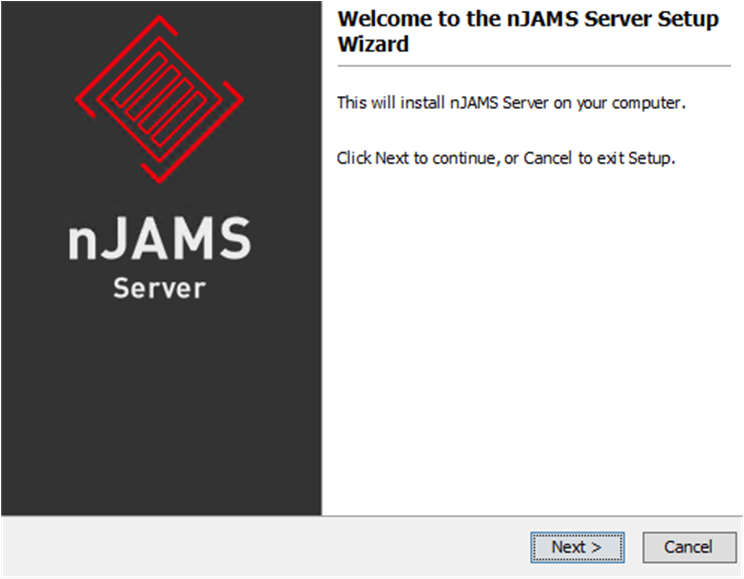
Select your destination folder and click on
Next. Make sure you have sufficient privileges to access this directory: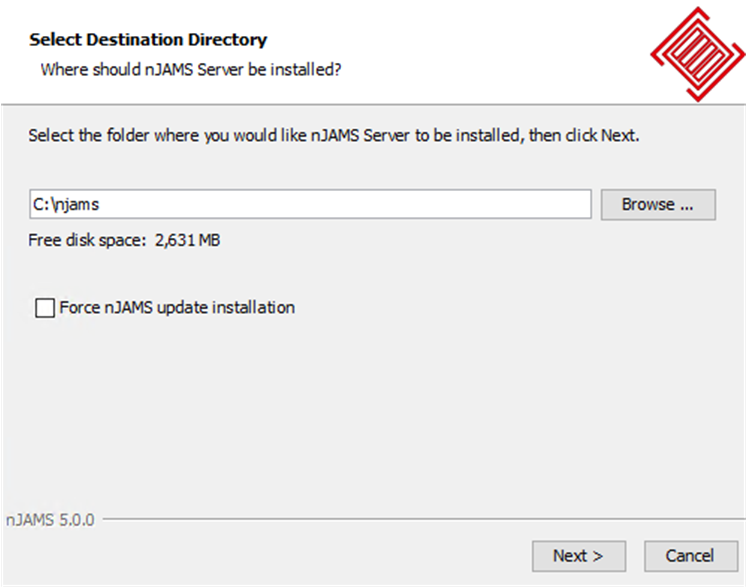
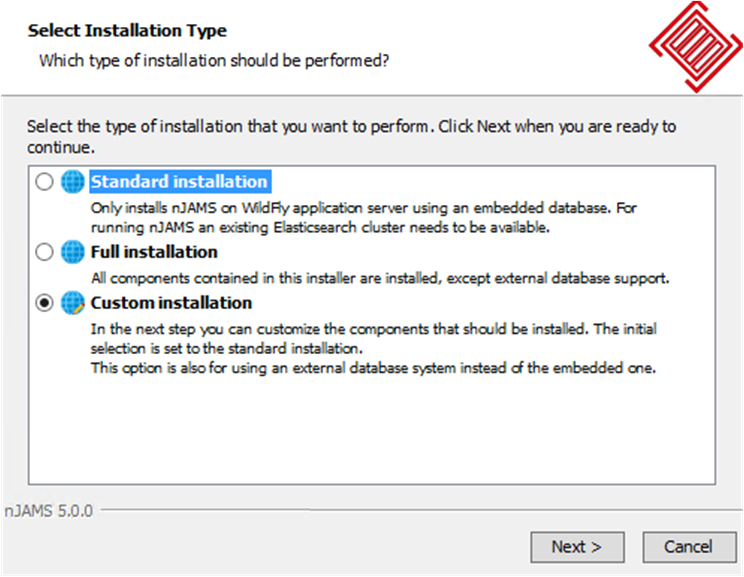
Select the type of installation:
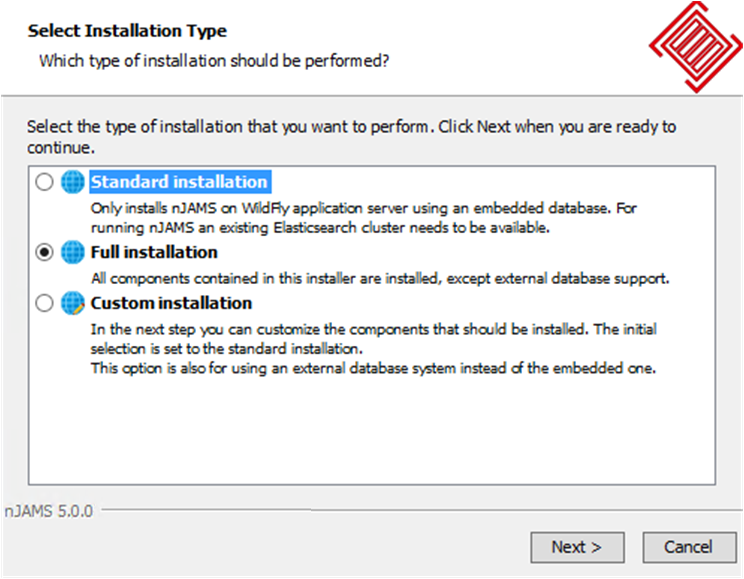
- Standard:
is the default installation type. Standard will install WildFly Application Server and deploy nJAMS Server afterwards. During installation you are asked to connect to a relational database system.
- Full:
this installs all software components that come with nJAMS Server installer.
- Custom:
user can select, which component to install. Use also ‘Custom’ installation, if you want to use your own Elasticsearch Cluster or your own RDBMS.
We proceed with “Full installation”, which will install WildFly application Server, an Elasticsearch Node, a PostgreSQL database, and Apache ActiveMQ JMS provider.
Configure nJAMS instance:
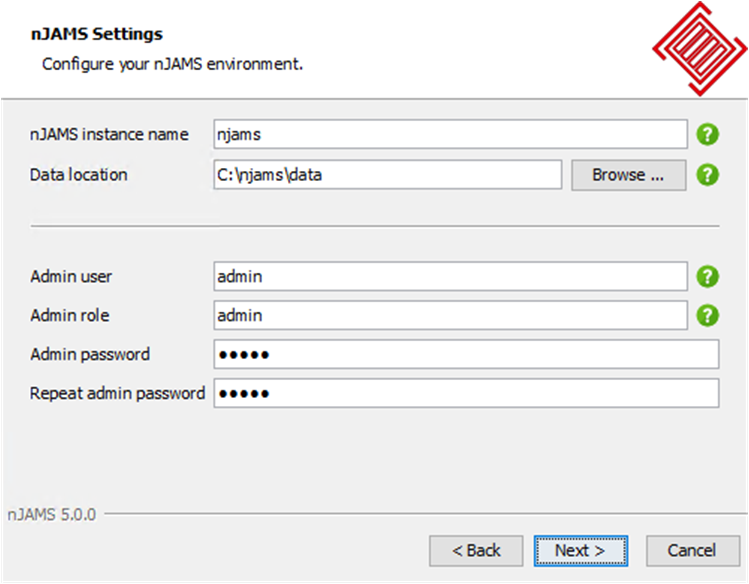
Specify an nJAMS instance name. An instance is the top entity for an nJAMS installation. Typically you have individual nJAMS instances for each environment (dev, test, prod, etc.). Give an name for the Administrator account and for the Administrator role. Set a password for the Administrator account.
Setup WildFly settings:
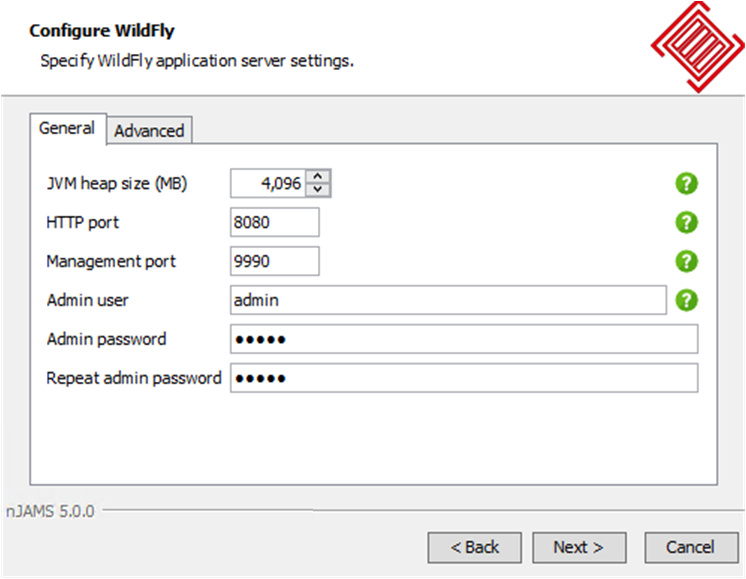
Set Heap size for the JVM of WildFly. Please select at least 2 GB RAM, which is sufficient in many scenarios. You may need more Heap size, depending on load, and data volume. Provide a name for the Admin user. Set a password for the WildFly admin user.
Select one of these ip addresses:
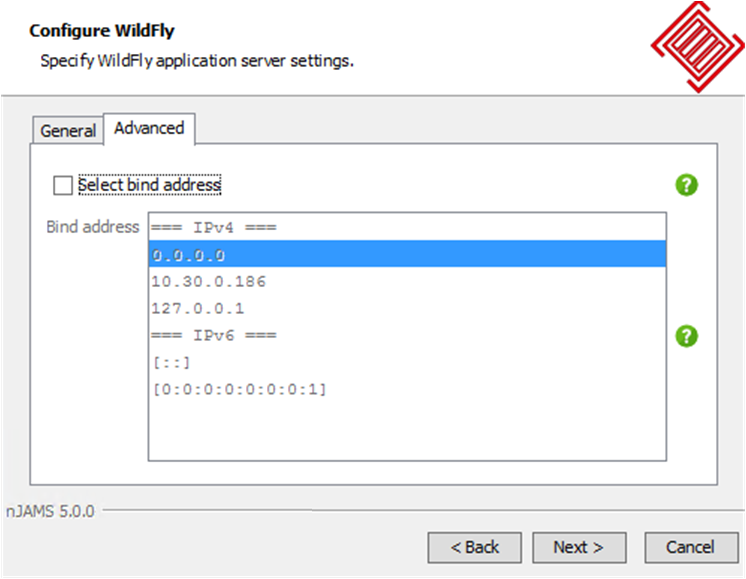
0.0.0.0 listens on all interfaces
Your public IP
Your local IP
Setup an Elasticsearch Node:
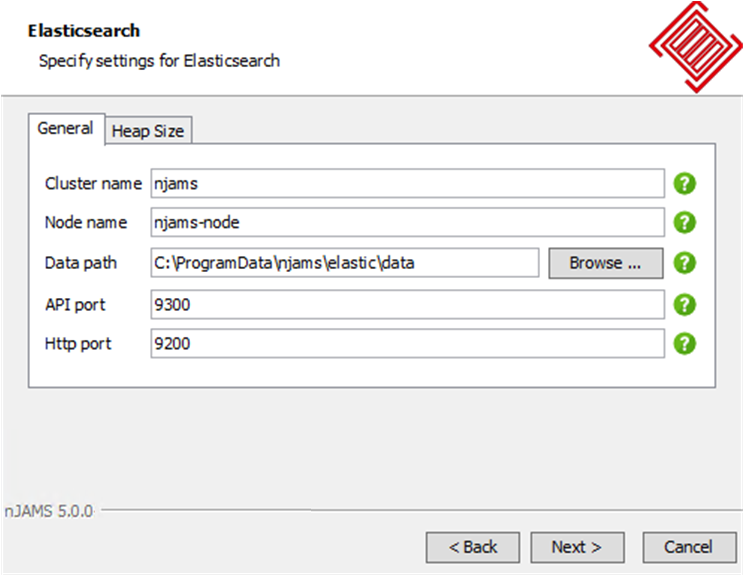
Provide a name for the Elasticsearch Cluster. Provide a name for the Elasticsearch Node.
Note
If you want to add more Nodes, restart nJAMS Server installer after the installation again and select Custom installation / Elasticsearch.
Specify a free API port.
Select a free HTTP port.
On tab “Heap Size” you can adapt the heap for Elasticsearch:
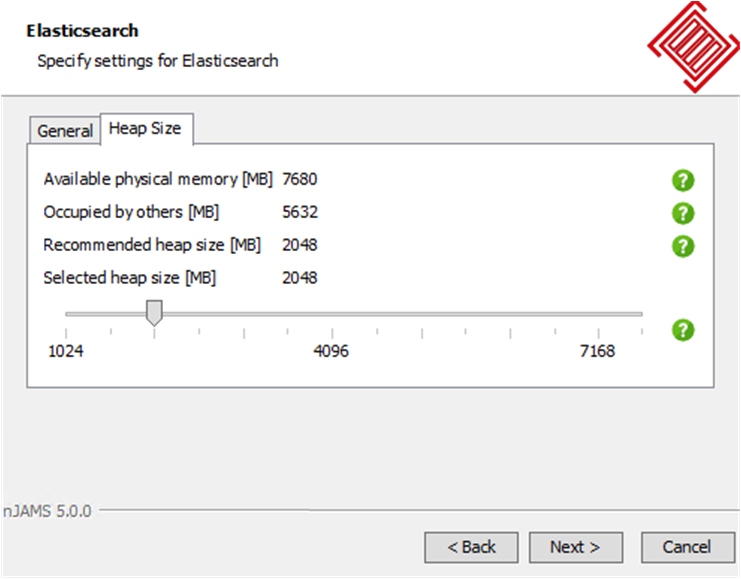
Default is 2 GB RAM.
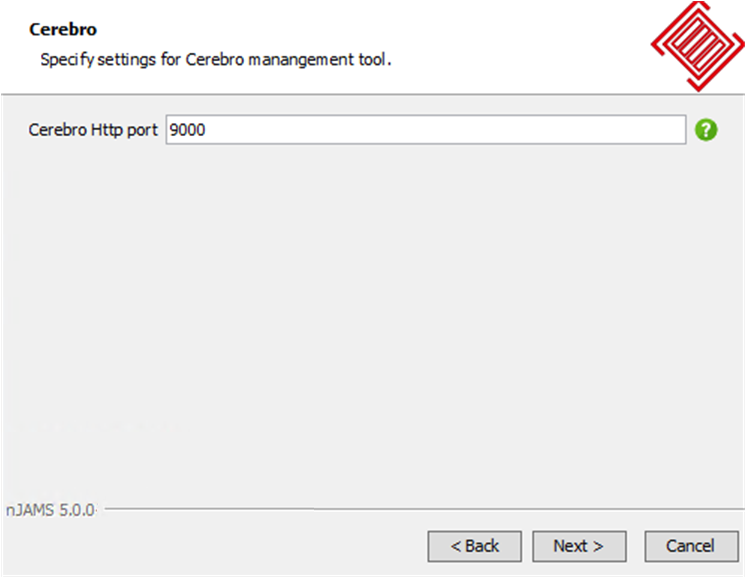
Select http port of Cerebro management tool:
Setup Apache ActiveMQ:

Define prefix for ActibeMQ destinations of nJAMS Server message processing.
Provide username and password for Administrator account of ActiveMQ.
Set ActiveMQ administration port.
Provide username, password of ActiveMQ account.
Set communication port of ActiveMQ.
Create a shortcut for Start Menu:
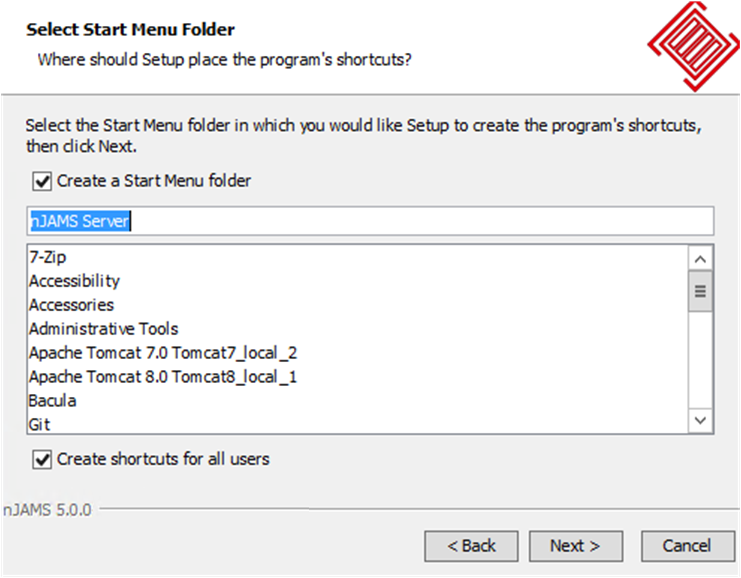
Click on
Nextto start the installation.
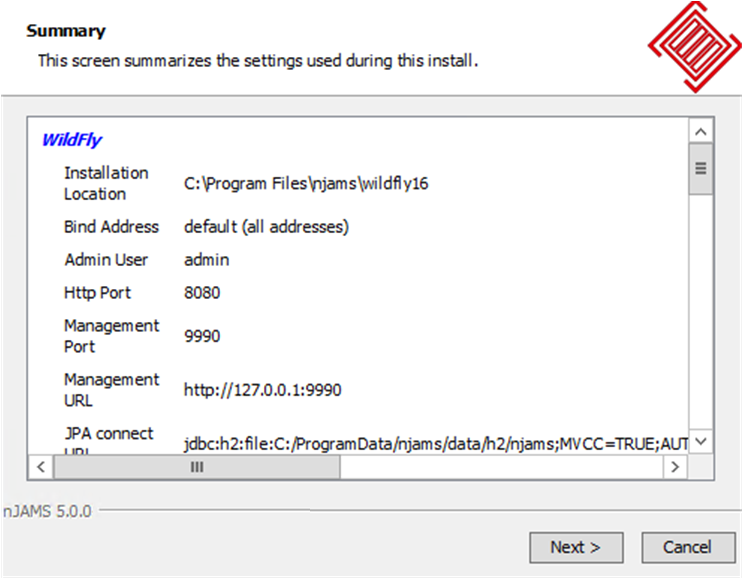
If the installation was successful, you will receive a summary of your target installation.
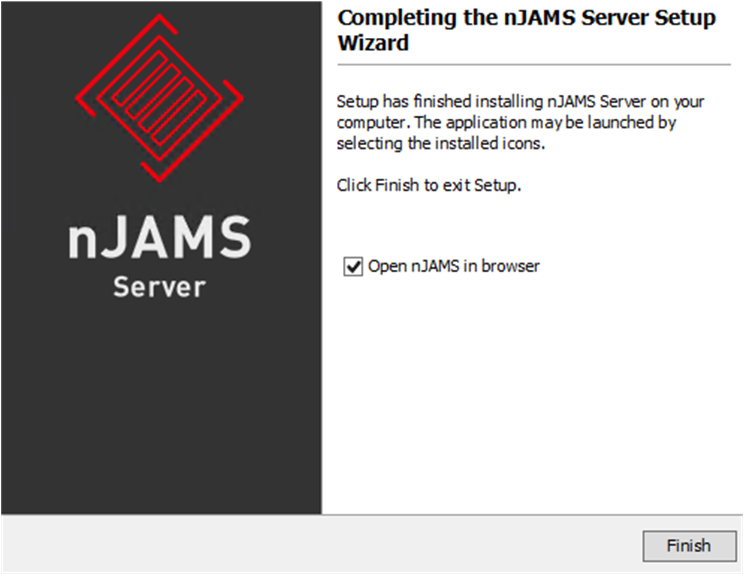
Check “Open nJAMS in browser” and you can directly login into your new nJAMS instance:
You can find the installation log files in the folder
<install>/.install4jIn case of the installation fails, the installation’s log file can be found in the system’s temp folder:
On Windows: ‘’<userprofile>AppDataLocalTemp'’
On Linux: ‘’/tmp’’
Installing nJAMS Server in Console mode#
On Unix/Linux systems you can either run installer in GUI mode or console mode. To run the installer in console mode follow these steps:
Extract the content of the package to a temporary directory
Inside console window navigate to temporary directory
Execute
njams_server_unix_5.0.x.sh -consoleRespond to the console window prompts step by step.
Installing nJAMS Server in Unattended mode#
The unattended mode of the installer allows to run an nJAMS installation automatically by using pre-defined settings.
An unattended installation has to refer to a response var file that includes pre-defined installation settings.
It is recommended to use a response var file from an attended installation as a template and adapt the settings in this file accordingly.
A response var file is generated obligatory and resides in <installationfolder>/.install4j/.
Run installer in Unattended Mode as follows:
njams_server_unix_5.0.x.sh -q -varfile response.varfile
Go to reference for more information about response.varfile.
Verify installation#
Depending on the installation mode you may want to check for the following nJAMS Server components.
Check whether all installed components are up and running:
WildFly Application Server
JMS Provider
Elasticsearch Node(s)
Please follow the instructions below to ensure nJAMS Server is running properly:
- 1. Check login:
Login into nJAMS. If login is not possible, ensure that the database is up and running and visit the log file:
<njams_home>/wildfly/standalong/logs/njams.logand check for any error messages.- 2. Check Indexer:
Login to nJAMS and go to
Administration -> Connections -> Indexerand ensure that the Indexer is running. If applicable, configure your Elasticsearch cluster connection. For RHEL 5, 6, CentOS 6, and SLES 11 it may happen that the Elasticsearch Node could not start. In that case you may have to set: --Djna.tmpdir={yourpath}injvm.confin elasticsearchconffolder and -bootstrap.system_call_filter: falseinelasticsearch.ymlof elasticsearchconffolder- 3. Check Data Provider(s):
Go to
Administration -> System Control -> Message processingand ensure that the Data Provider is running. If the Data Provider is not running, go toAdministration -> Connections -> JMSand verify your JMS settings are configured properly. Check whether there is a receiver registered on the JMS Server destination used by nJAMS:<prefix>.event. At least 1 receiver should be registered on that destination.
Deploying 3rd Party Libraries#
nJAMS Server Installer includes 3rd party libraries for the enclosed component Apache ActiveMQ. If you want to use a different RDBMS or a different JMS Provider you have to make sure that the according 3rd party libraries are successfully deployed at nJAMS Server.
- Deploy 3rd party libraries:
Login to nJAMS Server UI and navigate to ‘’Administration -> System Control -> Deployment``:
You can see the list of uploaded and deployed libraries currently used by nJAMS Server. Initially only nJAMS Server WAR file is listed.
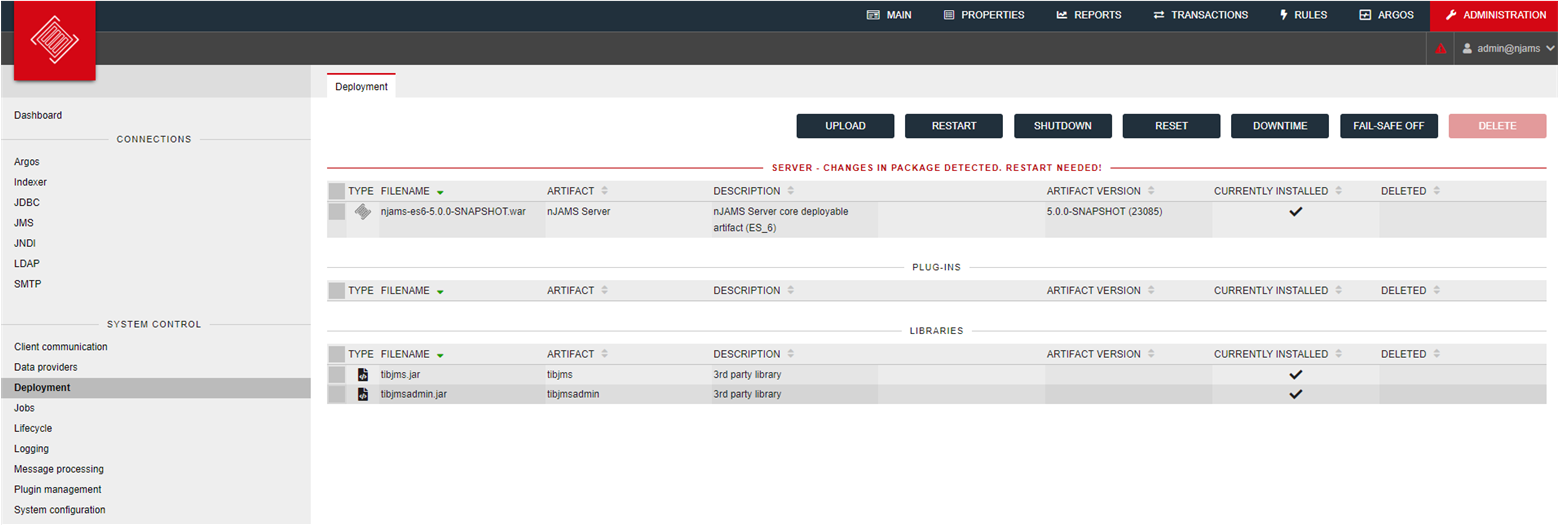
Click on UPLOAD
Select library (jar file). The library is added to the list and needs to get deployed now.
RESTART nJAMS Server
Custom installation of nJAMS Server#
nJAMS Server allows you to use your own Elasticsearch Cluster. You can also use your own database system (RDBMS) instead of the built-in nJAMS database.
Select “Custom Installation”, if you want use your own Elasticsearch Cluster or your own RDBMS.
Start nJAMS Server installer
Select “Custom installation”:
Select “Use External Database”, “Elasticsearch” and click on
Next: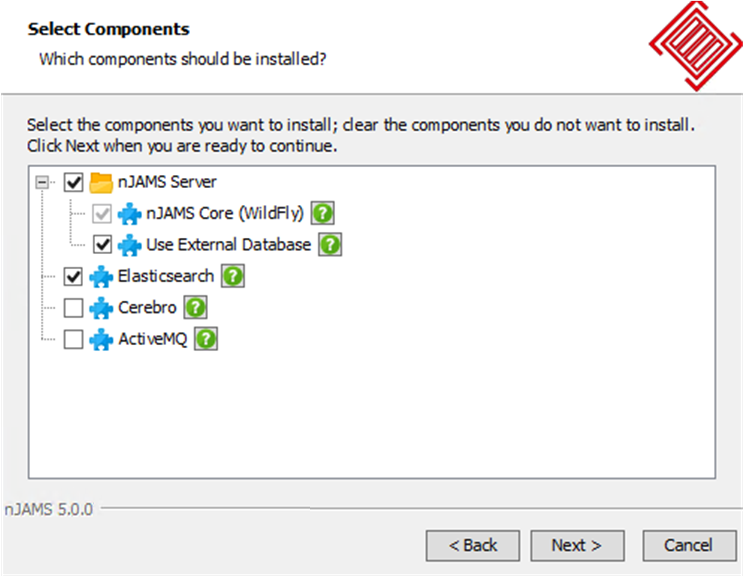
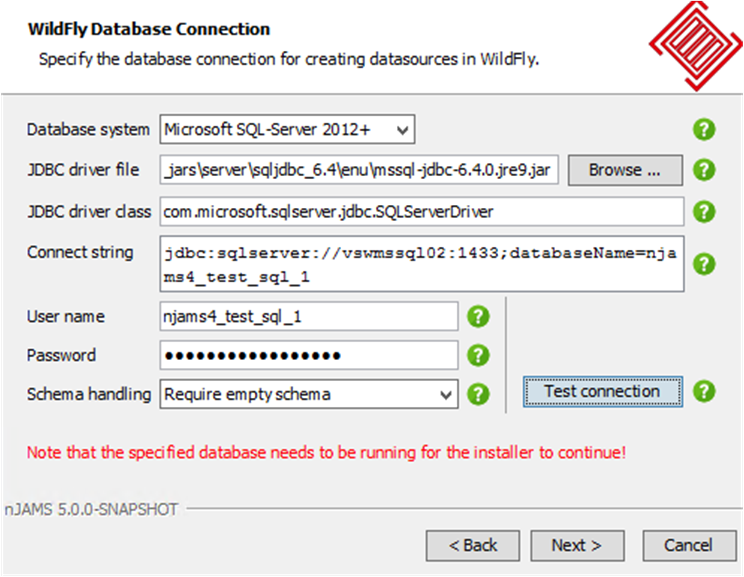
Enter settings for RDBMS.
Enter settings for Elasticsearch Cluster.
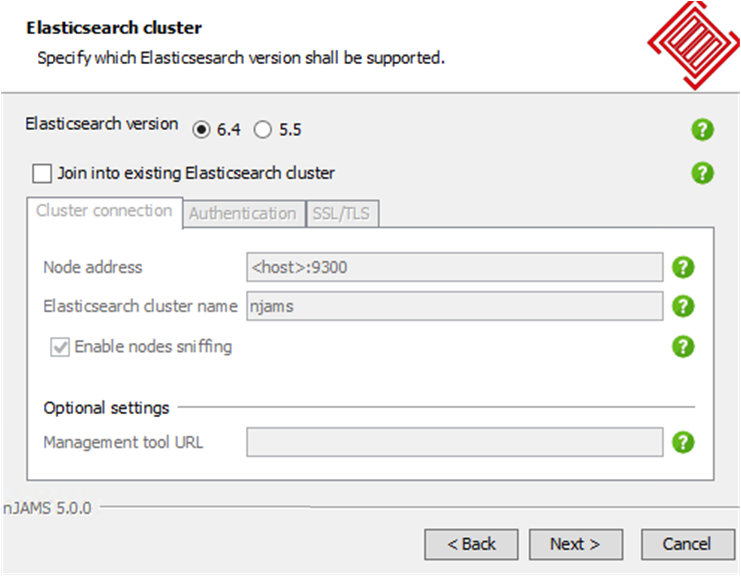
Make sure you select the correct version of your prepared Elasticsearch Cluster.
Furthermore, follow the instructions of the installation wizard accordingly.
Uninstalling nJAMS Server#
To uninstall nJAMS Server start the uninstaller on the machine where nJAMS Server is installed. The uninstaller resides in the nJAMS Server installation folder.
Start nJAMS Server uninstaller:
uninstallon Unix/Linux platforms
uninstall.exeon Windows
Confirm that you are sure to uninstall all components of nJAMS Server.
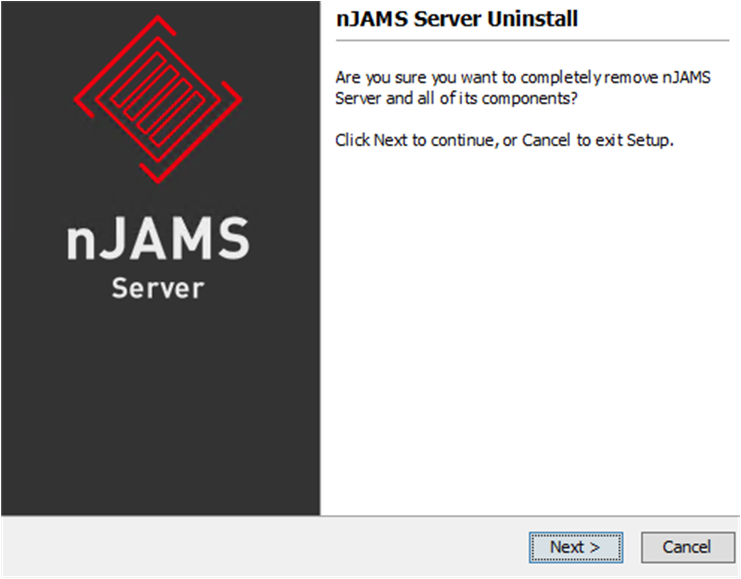
Click on
Nextto remove nJAMS Server and all corresponding components.
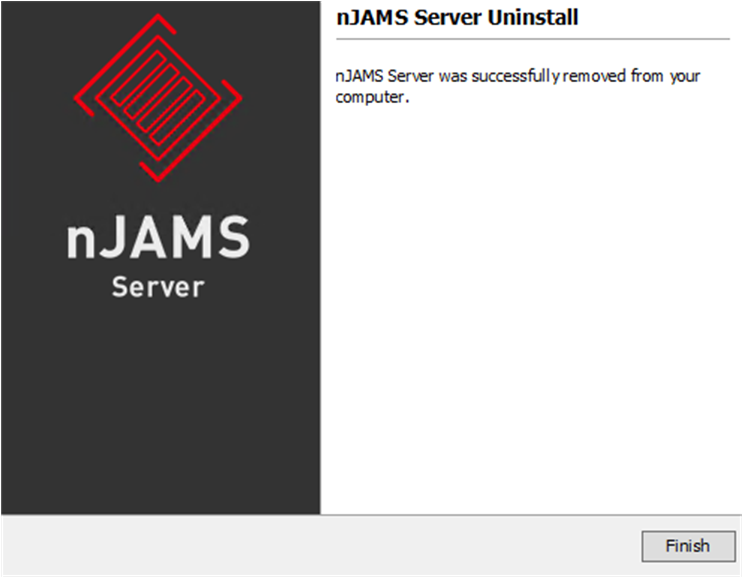
Uninstaller removes all components from this machine:
Confirm completion of uninstallation: