Getting started#
Setting up nJAMS Client for Mule4 is a breeze. Just follow the steps below and you are instantly able to monitor your Mule applications with nJAMS.
What do I need to start?#
MuleSoft Anypoint Studio 7.4 must be installed on your local machine. Enter https://www.mulesoft.com/platform/studio to get a 30-day free trial of Anypoint Studio.
Have a Mule project ready.
Have an nJAMS Cloud instance ready. Go to https://cloud.integrationmatters.com/#signup and register for a free nJAMS Cloud instance.
How do I start?#
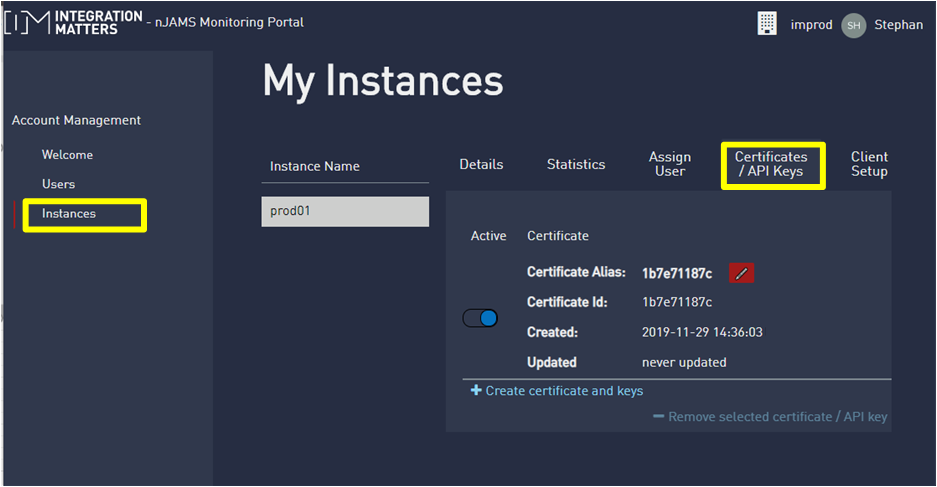
Create and download the certificate package of your nJAMS Cloud instance.
For a secure connection between nJAMS Client for Mule4 and nJAMS Cloud a certificate package is required. Login to your nJAMS Cloud instance and enter Instances > Certificates / API Keys:
Extract the nJAMS Client for Mule4 certificate package to your local drive at any location.
Add nJAMS Client for Mule4 installer to Anypoint Studio:
Start Anypoint Studio
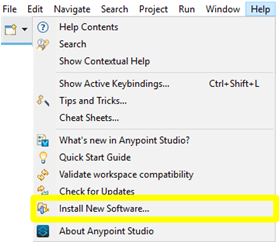
Go to Help > Install New Software…
Add a new repository by entering a name for the repository and specifying the following location:
http://p2.integrationmatters.com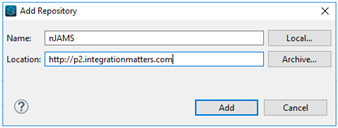
In the folowing dialog select nJAMS Client for Mule4 Eclipse feature and proceed by clicking on Next.
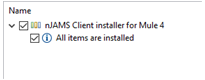
Accept the terms for the license agreement and restart Anypoint Studio. nJAMS Client for Mule4 will now be made available in Anypoint Studio.
Install nJAMS Client for Mule4:
Once the installer is available, you can install nJAMS Client for Mule4 into your Mule project as follows:
Right click at the root of your project
Navigate to nJAMS and select Add nJAMS to project.
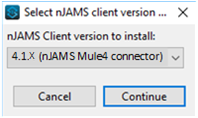
Select the version of nJAMS Client for Mule4 you want to install. It is recommended to use nJAMS Client for Mule4 Connector for the installation. Alternatively you can install the client by using Spring module.
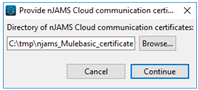
Enter the folder that contains the certificates you downloaded and extracted before.
Refresh your Mule project. nJAMS Client for Mule4 is now part your Mule project and ready to monitor your Mule application.
First start:
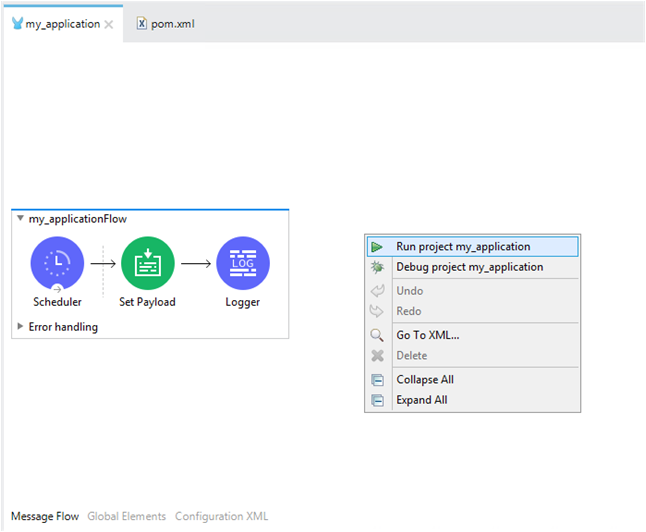
Let’s start your first Mule application with nJAMS Client for Mule4 in Anypoint Studio. Open your project, select a flow, and go to tab Message Flow, right click in the pane, and select Run project:
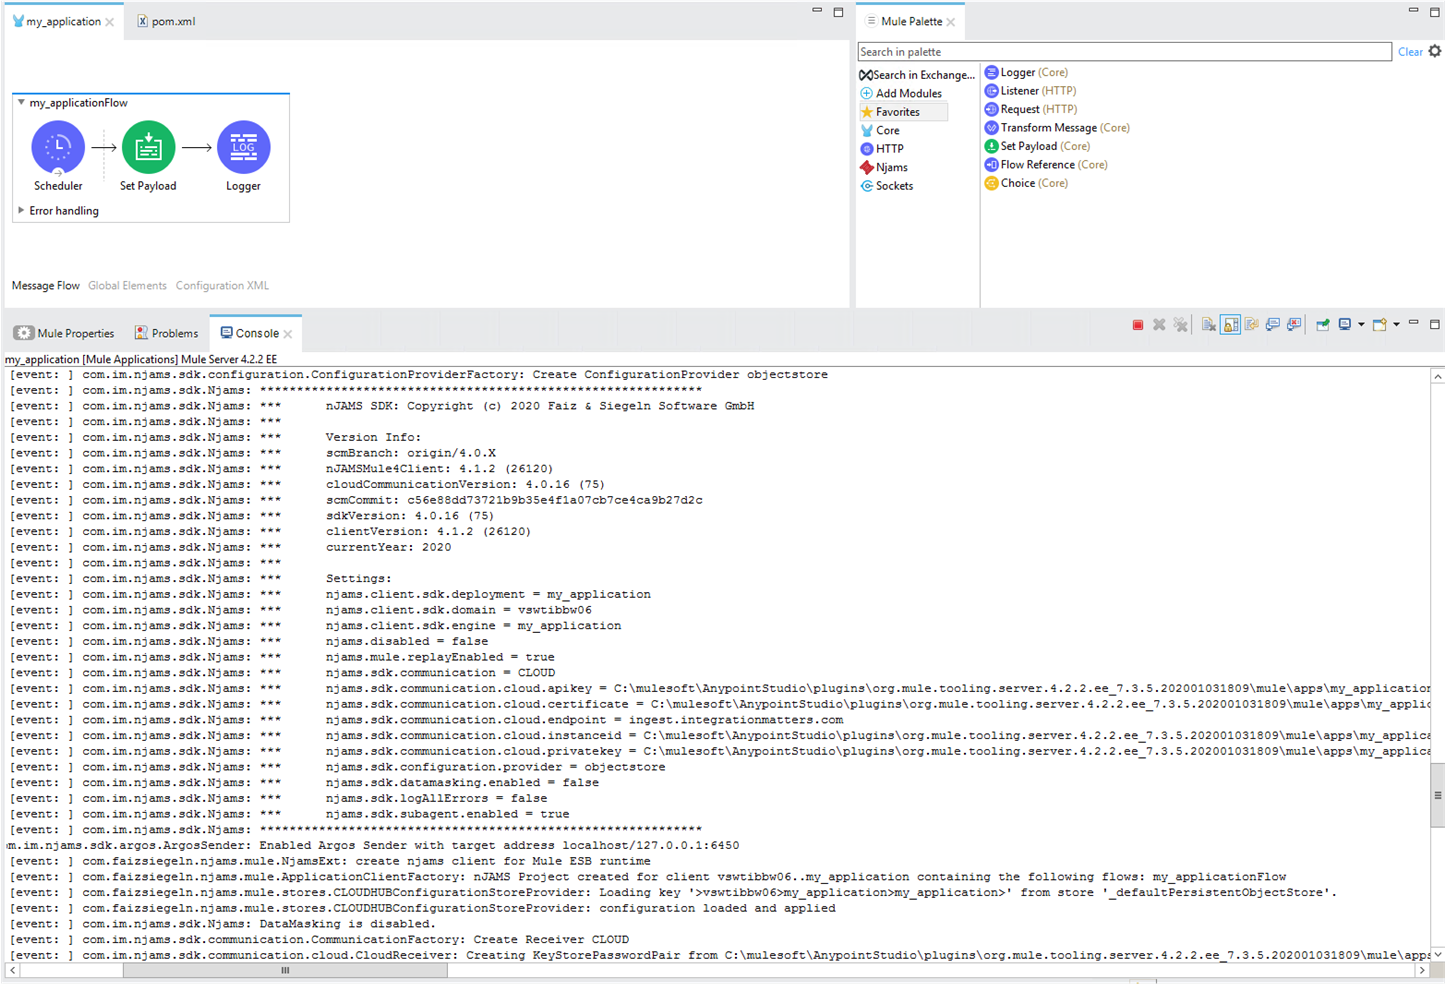
During startup of your Mule application, nJAMS Client for Mule4 is initialized. See nJAMS Client for Mule4 banner text in console output:
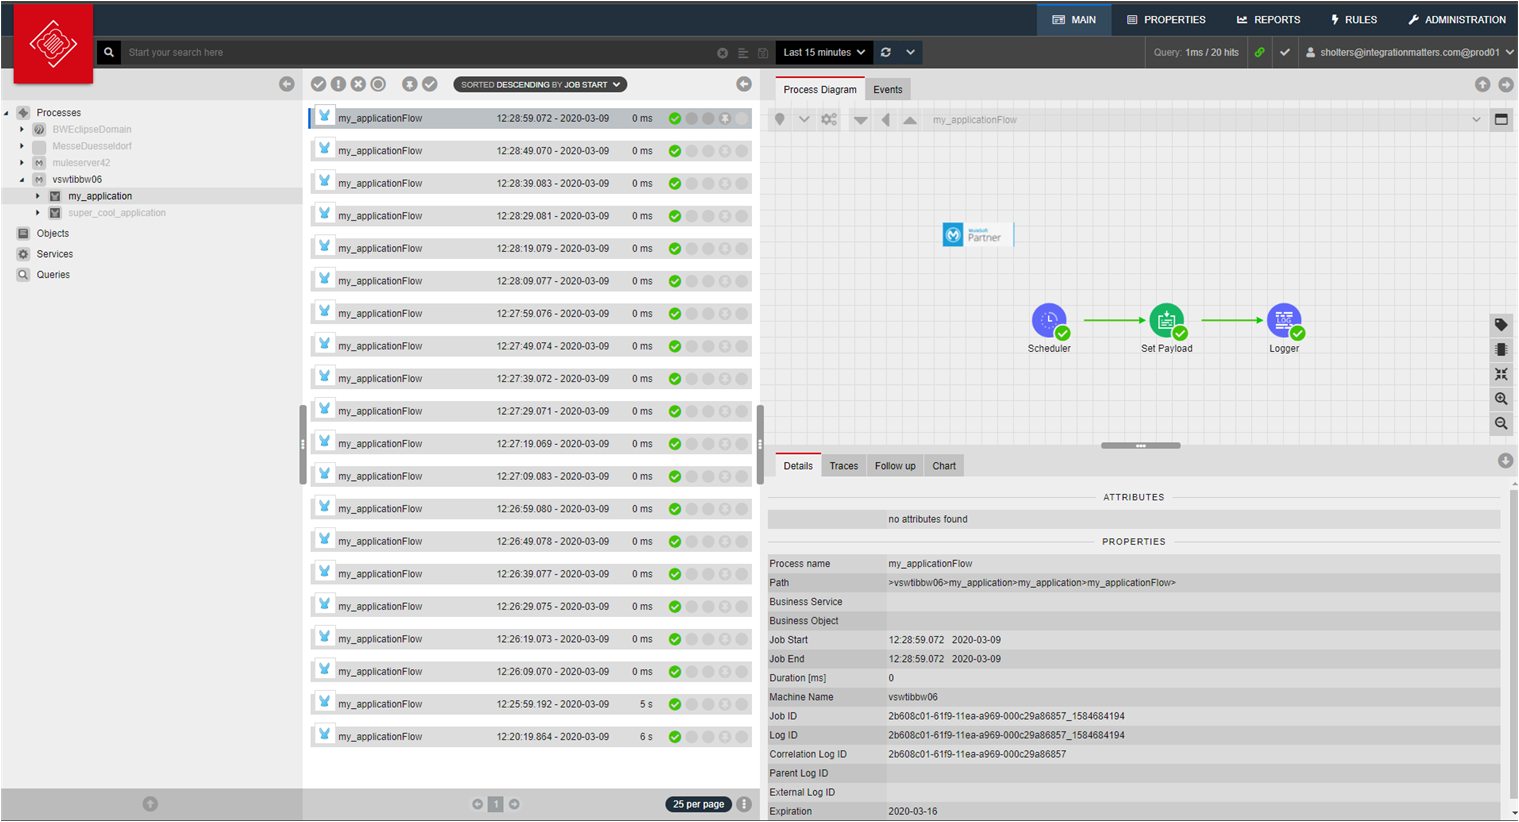
Enter your nJAMS Cloud instance again and watch the results of each flow execution your Mule application generates:
Well done, you now have a clear view of the things that lie ahead!
Follow chapter “Installation” for more options with regards to installation and configuration of nJAMS Client for Mule4.